Photographs of Bristol Docks
Associated with this is a series of basic exercises (see above and page two) that are to be completed before starting this theme, they will provide you with the techniques needed to complete your work successfully. Research the work of either Ansel Adams or John Davies (Natural world) and either Aaron Siskind or Andreas Gursky (Constructed world), with a minimum of 300 to 500 word annotation on each. The group will ‘walk’ the docks to get a feel for the location and possible pictures. For your individual approach you are to select one aspect of the Docks that you are drawn to and produce a series of pictures that best represent this, annotated as to why you chose that theme.
Pictures i have taken around the Bristol Docks Area

1/60 F00 ISO320
I thought that the flat stone on the top of the wall in the foreground would be a good way waking the the water of the river stand out, its quite nice how the light has shone in between the shadows of the buildings and boats moored on to the side. the clouds have created a good effect with different tones of grey and white which kind of draw you into the centre.

1/60 F00 ISO320
the corner of the building makes for a good composition and the colour of the stone make it the main focal point, the path just to the left is a good combination with the building in the background as they are similar colours the building being a slight darker tone. as the sky is quite a light tone it helps you to concentrate on the buildings below.

1/60 F00 ISO250
This photograph has good composition i think, with the old style building right in the centre its surrounded by modern architecture. The black lines on the steps that almost seem to join together in the background with combination of the light brown colour of the path seem to be a kind of lower frame to the old building.

1/60 F00 ISO200
I really liked how the sky and the sunlight worked in this picture and you can see the light dots created by the sunlight. the lower area of the carriage is quite dark and its a total opposite to bright area at the top of the image. I took the picture with a wide angled lens and it helps with making the end of the carriage the centre point.
-
Theme three – ‘Street People’
Following the group discussion and research into the set photographers (Garry Winogrand, Martin Parr, Cartier-Bresson) you are to interpret the theme to give your work direction. This theme may require you to get close to ‘people’ possibly to talk to them, explain what you are doing and don’t be put off by rejection – its part of being a photographer, how you overcome this is important and could define you as a photographer. Don’t shoot everyone from behind, the back of a person’s head is not always the most interesting viewpoint. Look for interesting characters, don’t just shoot anyone and remember that subject selection is vital to success.
Research Photographs of Joel Meyerowitz and Bruce Gilden

The passing traffic is right in the foreground but the street with the lights and signs in the background are in focus compared to the motion blur of the traffic.

The dark light works so well and the way the light is cast on the buildings and also the people walking along the pavement. You can see a really good depth of field with the blue sky between the buildings.

This is a fantastic photo with the New York cop stood in front of the adverts for XXX Adult movies video sale, the sun light is shining in from the left side right into the side of the cop. The blue neon lights around the adverts is a grate combination with the sunlight.
Bruce Gilden

This photo works so well and it brings the two men and lady the main focus, its good to be able to see their different face expressions and you can almost tell how they're walking, it shows a great depth of field.

This is an amazing photograph, its such a good style suit this chap is wearing and also the the way he is walking in some ways gives you an impression of what he's like. the composition is done so well and the space on the right is where he will continue walking along

I really like this picture and its been taken right in front of the people walking towards Brucethe composition is really good with the young girl on the right and the taller lads on the left, you can also see people behind person in the centre and the light tone of the road and sky helps to make them stand out.
These last six photographs were taken in New York city some of which were taken as early as the 1970s they are taken so well and you can tell that they are not set up, its just kind of catching people with things they do everyday and it really does make wonder what they are doing or where they're going.
Development work
Two pictures i have taken in the centre on Corn Street, i liked the composition of this picture. the building on the lefthand side which is quite dark combines well the buildings on the the right which are a lighter tone, the top of the buildings against the sky show a good depth of field and draw you into the centre of the image. Also the light reflection of the water on the road and pavement help to separate the buildings well. It would be better to use a quicker shutter speed to catch people moving more in focus, i should have used a higher ISO to make it slightly lighter although the lights on either side show well.

0"4 F18 ISO400

0"4 F18 ISO400
My plan is to use the side of the the street as i have done here and it is good as people will be walking straight towards the camera because its on the pavement, you do also get a good section weather it be on the left or right which make good composition, depending on where your standing to take the picture. I will also try to take the photograph in a small alley way and also somewhere that has quite a bit of character to it and not to many modern buildings.

1/13 F7.1 ISO400

1/13 F ISO400
These were taken in a pathway tunnel underneath a building by the main road, i thought it makes a good picture when people are entering but it also makes a good silhouette as people are walking through. also the refection of the lights helps with the depth of field.

1/13 F7.1 ISO400

1/15 F7.1 ISO400
This is a good spot at Christmas Steps in the centre, as people are walking down the steps its good to have people at different levels as they walk to the bottom.

1/60 F7.1 ISO800

1/60 F7.1 ISO800
Both of these pictures were taken on corn street, the same place where i took the first two photographs. I think its a good place to catch people as they are walking up the pavement, you do get people going in and out of buildings as well.

1/320 F6.3 ISO3200

1/125 F5.6 ISO3200

1/100 F10 ISO6400

1/100 F13 ISO6400
These pictures were taken at an entrance to St Nicks market and Corn Street, they were good areas because there were so many people walking in and out of the market and by the market stalls and food stalls. It was good to catch them looking what was being sold and also walking towards the camera.
Exercise 3 - Movement through Shutter control
Produce two different sets of images that show control of movement. This is to be done by selecting an appropriate moving subject – as you will need to shoot more than one image select a subject where the movement is constantly repeated. Photograph the subject using a fast shutter speed (eg 1/500 sec) to freeze the movement, then without moving the camera take another photograph using a slow shutter speed (eg 1/4sec.) to create a blur to the action. Remember as you adjust the shutter the exposure changes so you will need to make a corresponding adjustment to the aperture in order to maintain correct exposure. Or you can use Shutter Priority mode, where you select the shutter wanted and the camera selects a suitable aperture to ensure a good exposure.
Research for movement through shutter control
Some great examples of slow and fast shutter speeds and the different effects that can be shown
Slow shutter speed

Water Fall
this water fall taken with a slow shutter speed is and excellent example of how the longer the shutter is open the more the water itself can move causing a blurred effect. Everything around is in focus, the rocks and trees in the background.

Bus driving by
Again this image is taken using a slow shutter speed and creating an amazing motion blur and it really does show the movement of the bus and also the white flat bed truck driving towards the left of the image.
Fast shutter speed

Boy Dancing or maybe falling from ledge, London.
This photo was taken using a fast shutter speed and it is all in really good focus if you where using a slow shutter his figure would be very blurred. A great picture has been captured and with the combination of the shadows it really shows that he is a couple of meters in the air.

A man throwing some water out of a container
The water has been caught so well in this photo and it has totally frozen smaller drops you can also see how its been thrown as well, it has created a complete circle which is almost symmetrical. the water is brought right to the front with the dark colours in the background on the left and right.
My own photographs taken

0"4 F29 ISO100
The bright light from the top of the picture has such a good fade in to a darker tone and also in to the curving shadow at the bottom, moving water is shown in quite a subtle way although it does have thin dark lines from top to bottom which do allow you to see its movement.

1/10 F22 ISO100
The flowing water really does show so well in this photograph, it is curving out to the right and it's blurred effect really does show the moment and its brought to the front from the floor behind and the metal grate below.

1/8 F32 ISO100
This photo has a very good combination of quite flat hard shapes on the left and right against the flowing water in the middle of the image, also the kind of spectrum of light within the flowing water helps to show the movement.

1/5 F36 ISO100
The combination of the two fountains make such an interesting picture, the water on the bottom section of the image reflects the wall of water above and the blurred flowing water above this shows the movement well.

0"5 F32 ISO100
This photo has shown really good effect with the movement of the water flowing down from the curved piece of metal at the top of the image, the water is slightly blurred but this does show the movement very well.
Technical Notes regarding Shutter, Apperature and ISO
Pictures taken with a shutter speed of 1/25 ISO 100 In Manual mode.
Whilst following the moving vehicle in the picture it keeps the vehicle in focus but the background and also the figures in the foreground become quite blurred as the camera is moved to follow the vehicle
My own photographs to show how this technique works

1/15 F11 ISO100

1/5 F11 ISO100
This picture again has a person walking to the left on the pavement although as the vehicle is black and the person is wearing dark clothing which dose make them blend in to much. how the blurring effect has worked you can almost tell that the camera was moving following the vehicle, which is a good thing

1/10 F11 ISO100

1/25 F11 ISO100
The lorry in this photo really does make it an interesting photo, the shear size of it and with everything attached to it and also the mechanical arm on the top it really does bring it to the font. Again the person walking to the left on the pavement has been captured just at the right time, you can see that their leg is slightly in focus just before the foot hits the ground.
Exercises 1 & 2 - Depth-of-Field through Aperture control
Produce two different sets of images that show control of Depth-of-Field. This is to be done by selecting an appropriate subject and focussing point within it. Photograph the subject using a wide aperture (eg f4) to create a shallow D.O.F, then without changing the point of focus take another photograph using a small aperture (eg f16) creating an extended DoF. Complete this process on two different subjects. Remember as you adjust the aperture the exposure changes so you will need to make a corresponding adjustment to the shutter in order to maintain correct exposure. Or you can use Aperture Priority mode, where you select the aperture wanted and the camera selects a suitable shutter to ensure a good exposure.
My own photographs

1/8 F22

0"5 F29 ISO200
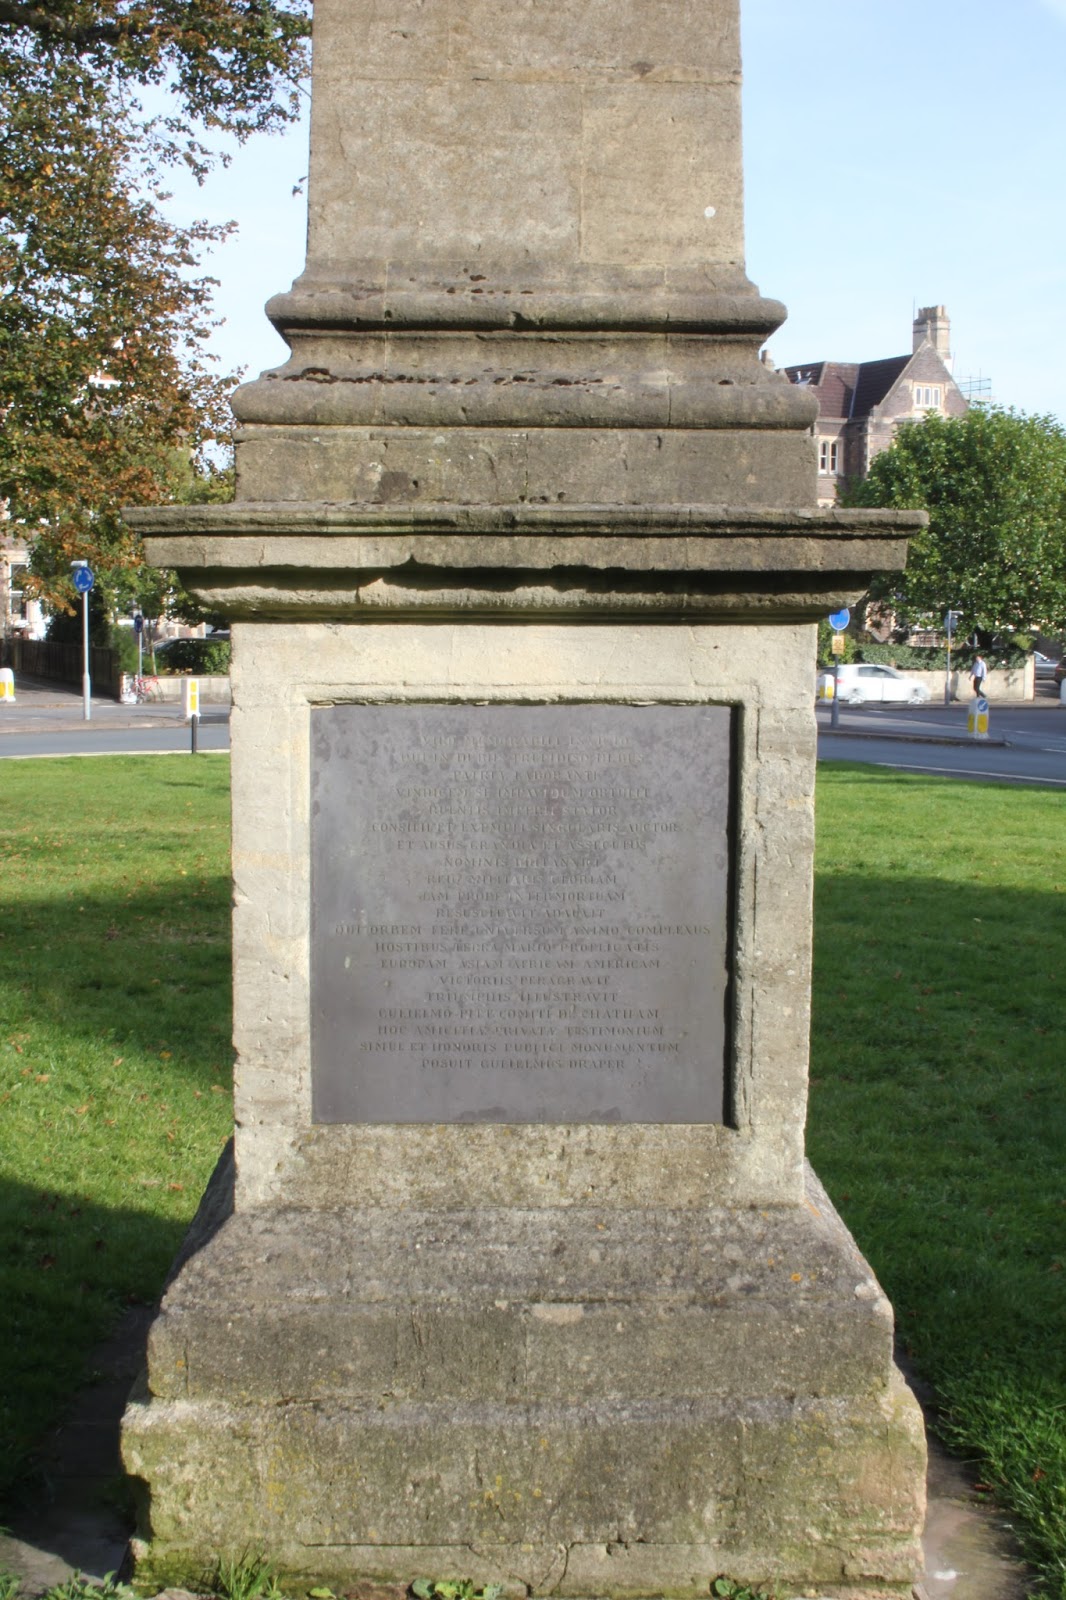
Three pictures taken in clifton of a tree and a old stone memorial column. with these pictures i haven't really achieved a very good example of a depth of field, although I've focused on the actual column the background is still quite in focus and i think i need to use a slower shutter speed.
The tree is quite similar although the background is slightly more out of focus but it does seem to be a bit to bright.


1/60 F4.5 ISO100


1/60 F4.5 ISO100


1/4000 F1.8 ISO1600

1/2000 F1.8 ISO1600
I took these two pictures when i was out walking and i thought they came out quite well, the photo with the branch has come out slightly better, the light in the background with the sun setting does make the branches stand out and you can see the tree line and field behind. The picture above has worked well with the corner of a gate and the colour of the rust with the corner section sit well against the grass in the field behind.
-
Exercise 4 - ISO settings - Using manual settings only:
-
1) Produce a correctly exposed image of any subject at 100 ISO. Produce a second image ‘identical’ image, this time ensuring correct exposure at 1600 ISO. Select the same area on each image and enlarge to 200%, to show change in image quality2) Produce a correctly exposed image at 200ISO, keeping the same exposure settings shoot at 100ISO and then 400ISO.
- Initial Pictures I've taken to test out the different settings
-

1/40 F6.3 ISO100
you can see with a high lens aperture is how large it opens and then allows more light into the image sensor, this does give a sharper image and it will not create so much noise or grain. 1/80 F6.3 ISO100In this picture it shows even the water which is thrown out from the metal jet on the ground and you can really see the detail inside the water with no blur or noise.
 1/50 F6.3 ISO100
This has come out very well in terms of focus and there is no sign of noise or grain at all, although the water has a bit more motion blur because its at a bit of a distance away i think and also because it quite fast as it first jets out. 1/80 F6.3 ISO100
 - This also has no sign of any noise or grain and every thing is in good focus.
 1/160 F6.3 ISO200
- 1/1000 F6.3 ISO1600

- 1/4 F22 ISO100
- You can see the difference here in noise with this lower aperture setting and also the blur as well, especially with the car driving along in the background.

- 1/20 F14 ISO200This higher aperture is slightly better around the flowers and it has hardly any grain.

1/20 F14 ISO400These last three pictures are from ISO100 up to ISO400, you can see how the photograph above has more light than the ISO100, it has dark shadows in the plants and the bench on the left of the image whereas the ISO400 still shows the shadows but you can also see what's in these areas instead of it being totally black.

1/400 F14 ISO3200
This does show a small amount of noise but everything is quite well focused, the ISO is a bit to high though.

1/160 F22 ISO3200Everything is fairly well focused but you still can see a very small amount of grain, i think even a higher aperture could make a better picture. 1/1250 F13 ISO6400This seems to have come out quite well in terms of focus and the is not so much grain but the water has a bit to much motion blur unlike the second picture for the assignment.
 1/500 F13 ISO6400
 - These last five Photographs, the first two being ISO3200 and the last two are ISO6400. You can see the increased light level in the last picture at ISO6400 the flowers seem as though it could be the right amount although in the background you can see how bright the sky and the reflection in the water is, even the top of the trees are lost in the brightness. This could be changed or altered using photoshop by darkening the brighter areas in the background.
Assignment two Location Techniques
Sense of Place
Look at the world around you; photographic opportunities abound for the inquisitive, for the curious and or the adventurous. This assignment asks you to explore your surroundings and to create visually interesting images derived from both the natural world and the man made.This will be achieved through the production of photographs for the following theme:Sense of PlaceWhatever you choose to record ensure that images are enhanced by good use of lighting, framing and composition. You are to produce a minimum of eight final images.All final images are to be shot digitally and printed commercially to Photo Quality - A4.
Research Photographs I've found.These photos were taken by Don Mccullin from 1960s to the 1970s in the uk i think that they express a good sense of place, they do include people and this is a good way of giving you an understanding and feeling of why these people are there. It does help with the expression on peoples faces and what they're doing when the picture is taken.
 In the cafe with the gang, London 1958
 In the cafe with the gang, London 1958
 Sunday morning, Chapel Market, London 1962
 Fishermen during there lunch break, Scarborough, Yorkshire, 1967
The photographs don't seem to be set up or controlled in any way and they do seem as though they are very free and people are just doing what they like. The composition of the pictures is so good and the light is just right even though they are taken in black and white it still makes a great picture.
My plans for the sense of place assignment is to take pictures in an area that i have spent a lot of time in and to maybe include people depending on what time i chose to take the photo. I don't think i will specify a certain time of day and i will also try to use the same technique as Mccullin and try to make it a natural un planned shot but i will definitely consider the composition, light and framing to enhance the image.
My own development and final pictures
 Midsomer Norton high street.This is where i grew up and spent most of my time when i was younger i thought this could be a good place to use. I took this picture in the evening and the sunlight gives really good light although the street itself is to dark really.


These two pictures have the ISO1600 and the shutter speed of 1/100 there is a bit more light in the photo and the water has been captured well especially in the second image from the fountain in the centre. It really has captured the water at a good time and the shape it has made almost looks like its been made by a quick brush movement in a painting.


A room in a house i was living.
This is a room in a house i was living, the sunlight shining through the window creates such a nice effect, six lines coming out from the centre of the picture and also the lens flare and smoke work so well although the rest of the room is a bit hard to see, it will also be better to maybe not use a house where I'm living.
These photographs were taken in St Werburghs in Bristol, this is a place that i used to live and spent a lot of time around. i thought it would be a good place to chose for the sense of place assignment, i know the area very well and i knew there would be a lot of places to take some good pictures showing the types of houses streets, shops, pubs to give you an idea of what it's like as an area.

I spent the afternoon walking around the area near to where i used to live this was on the street just down the hill from the house with an old church on the corner. I thought this picture worked well the tree is right in the middle and the church spire on the left you can also see the terraced houses going up the hill from the right.

1/60 F4.5 ISO100
This picture was taken on a street right next to the park in St Werburghs on the left, the houses on the left show a good depth of field, the red brick house on the left stands out rally well against the pale blue block across the road.

1/60 F4.5 ISO100
This was taken after i had walked through the park and it was a good place to get a picture to show the type of houses that are around the area, i think this picture works well with the camper van doing out from the righthand side which follows the the food lining across the street, the red brick makes row of houses is a good feature.

1/50 F4.5 ISO100
I had walked back to the area i had started and this was taken on the corner where the church was, this was a picture focused on the holly bush hanging out of the fence on the right i thought it was a nice way to show good depth of field, also the lime green colour of the car is a nice background for the holy bush. The light tone of the houses on the left are split well by the road and tiles on the roof.

1/50 F4.5 ISO100
This again was taken on the same corner where i took a lot of pictures because it was near the old house and i used to walk down this road a lot. this picture is focused on the steel fence on top of the sandstone wall around the church, the sign on the left catches the light well and the tree above has made effect against the light sky you can see the street well even though its slightly blurred.

- 1/100 F4.5 ISO100
This is around the the High street area where there are all the shops takeaways and in this picture a second hand furniture store. I like how this has the furniture right at the forefront and then you can see the line of shops and takeaway behind, different stacked up furniture makes for a really interesting picture with alot of different shapes and a lot happening

I took this by a pub where i used to go for a drink right behind the park which i walked through earlier on. I stood right next to the stone wall on the right and the wall on the side of the pub that has recently had some art work painted on the side of it, which make it a good feature and the grey of the road and pavement and light colour of the sky help to bring it out. the combination of the pavement and roof line of the pub create a good depth of field

- 1/20 F11 ISO200
- I This was the last picture i took after spending the afternoon in St Werburghs and it was when sun was setting, i took this just to the left of my old house which was on top of the hill and i was facing down the hill, the roof line is following the hill down and the brow of the hill in the background is split from this by the sunlight highlighting parts of the roof and also the cars.
- Evaluation
- This was an interesting assignment and there was quite a lot of different options that you had for places or if people were to be part of the picture, most of the research pictures i found by Don Mccullin were of different people in different places which i thought were fantastic Photographs, even though some of them were taken back in the 1970s i think they really did express a sense of place, by using people doing what they do during the day. In the end i decided to take pictures outside in place that i had lived and spent a lot of time in, it was great to be walking around and having so many choices of different pictures but still thinking about certain aspects like the composition, light and what would be in the picture itself to give the sense of place. I think i managed to achieve this but you could carry on taking photos for quite a long time to capture all kinds of things, i think it may have made a better picture if i had people walking along or maybe just talking outside.
No comments:
Post a Comment